 Chop Sampler
User Guide / Sampling and Editing
Sampling and Editing
Record any sound into Chop, trim it, chop it into slices across your pads, and split songs into stems. Everything here lives on the  SAMPLE tab.
The SAMPLE tab has three pages. Tap SAMPLE again to cycle them, or use the buttons at the top: ● REC, EDIT and CHOP (plus STEMS).



Recording a sample
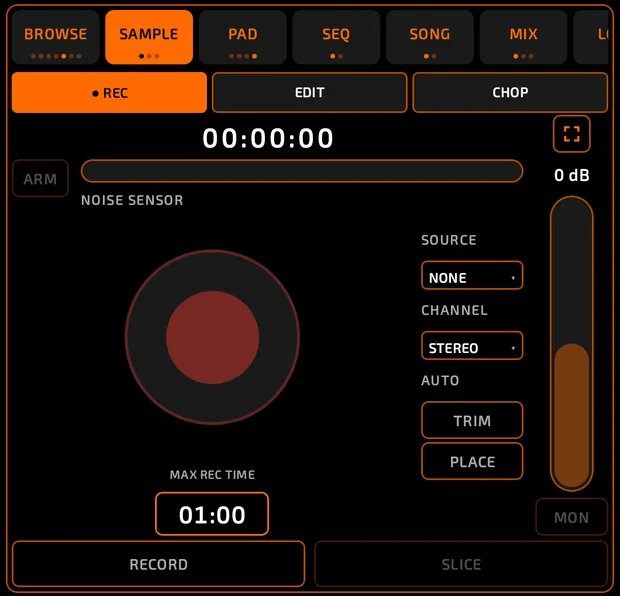
The REC page with SOURCE set to MIC, the input fader on the right showing a level, the big round record button, MAX REC TIME, ARM / NOISE SENSOR and the AUTO TRIM / PLACE chips.
sampling-recorder.mp4
Open the recorder
- Tap ● REC on the SAMPLE tab, or
- Select an empty pad and tap SAMPLE, or
- On the SAMPLE tab, tap an empty pad.
The first time, Android asks for microphone permission.
Choose your input
SOURCE starts at NONE every time you open the recorder. Pick one:
| Source | Records |
|---|---|
| MIC | The phone's microphone. |
| LINE / JACK | A wired headset, line input or other plugged-in input (only when one is connected). |
| USB | A USB audio interface or USB mic (only when one is connected). |
| SYSTEM | Sound from other apps on your phone. Needs Android 10 or newer and asks for screen-capture permission. |
| RESAMPLE (master out) | Chop's own output. Play a beat and capture it as a new sample. |
CHANNEL chooses STEREO, MONO (L+R), LEFT or RIGHT.
Set the level
- The tall fader on the right sets the input level from -24 dB to +24 dB. Double-tap it to reset to 0 dB.
- The meter inside it turns red when you're too loud.
- MON lets you hear the input while you record. It's off for MIC and RESAMPLE to stop feedback.
How to record
- Pick a SOURCE and set the level.
- Tap the big round record button (or RECORD at the bottom).
- Tap again (or STOP) to finish.
- In SAVE RECORDING, name the sample, leave NORMALIZE on to make it loud, then tap a pad to put it there. DISCARD throws the take away.
Recording stops by itself at MAX REC TIME. Drag up or down on that box to change it (1 second to 10 minutes; default 1 minute).
Auto-start with ARM
- Tap ARM. It shows READY ●.
- Set the NOISE SENSOR fader. Higher is more sensitive.
- Recording starts by itself when the sound gets loud enough.
AUTO options
- TRIM: moves the start marker to the first hit, so silence at the beginning is skipped. Nothing is cut; you can still move the marker back. A THRESHOLD fader sets how loud the first hit must be.
- PLACE: saves each take straight to the next empty pad, without asking.
Tap an AUTO option that's on to turn it off.
SLICE while you record
Chop a performance live, straight onto pads.
- Pick a source, then tap SLICE (SLICE ●).
- Tap a pad to start recording. That pad gets slice 1.
- Each time you tap another pad, the last slice ends and a new one starts on that pad.
- Tap FINISH when you're done.
The sample editor (EDIT)
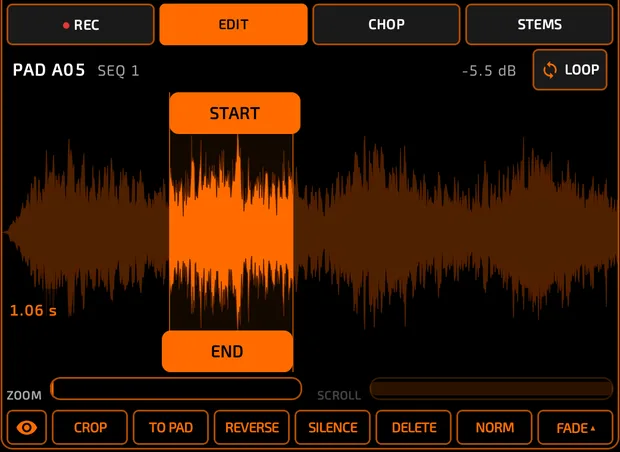
The EDIT page with a waveform, START flag at the top, END flag at the bottom, the ZOOM / SCROLL strip and the CROP / TO PAD / REVERSE / SILENCE / DELETE / NORM / FADE buttons.
sampling-editor.mp4
Name and info
- The top bar shows the pad and the sample name. Double-tap the name to rename it.
- On the right it shows the slice count, peak level or zoom.
Trim with START and END
- Drag the
 START flag (top) and the
  END flag (bottom). Only the part between them plays.
 - The length of your selection shows at the bottom-left.
Zoom and scroll

- Pinch the waveform to zoom in (way in, for sample-accurate edits) and to scroll.
- Or use the thin strip under the waveform: ZOOM on the left, SCROLL on the right.
- Zoom homes in on the flag you moved last.
Play From End
Double-tap the END flag. It turns red. Now the pad plays from the END flag to the real end of the sample while you hold it, so you can hear exactly where your end point sits. It doesn't change your trim. Any edit turns it off.
Edit buttons
Every edit asks first (SKIP / APPLY) and can be undone with the undo button in the middle strip. Each one works on the part between the flags.
| Button | What it does |
|---|---|
 CROP CROP | Keeps only the part between the flags. |
 TO PAD TO PAD | Copies the part between the flags to the first empty pad, or CHOOSE PAD. It's rendered through the pad's settings (pitch, envelope, level, pan) into a new sample. |
 REVERSE REVERSE | Plays that part backwards. |
 SILENCE SILENCE | Replaces that part with silence. |
 DELETE DELETE | Cuts that part out and joins the ends smoothly. |
 NORM NORM | Makes that part as loud as possible without clipping. |
 FADE ▴ FADE ▴ | FADE IN or FADE OUT across that part. |
The eye icon hides the edit buttons to give the waveform more room.
Loop
- Tap
 LOOP (top-right) to make the pad loop.
 - Long-press LOOP for LOOP SETTINGS: FORWARD ▶ or PING-PONG ⇆, the crossfade shape (ENDS or MID) and the crossfade AMOUNT.
Chopping (CHOP)
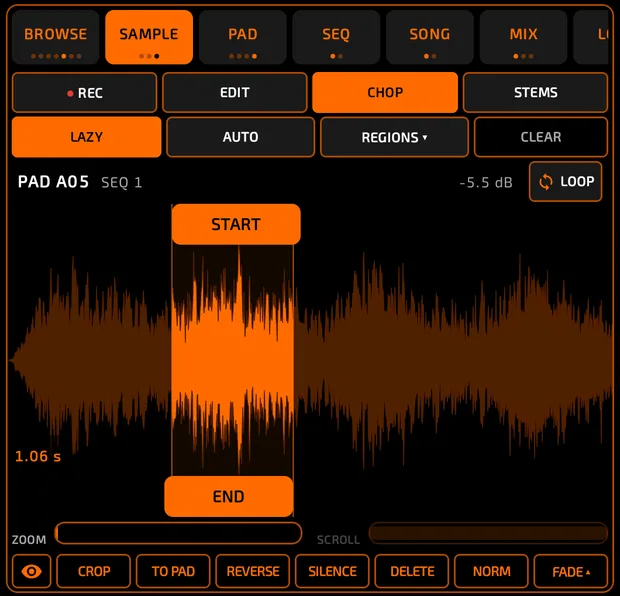
Turn one sample into many pads.
The CHOP page in AUTO with the THRESH slider and slice markers on the waveform, and the LAZY / AUTO / REGIONS / CLEAR buttons.
sampling-chop.mp4
Set START and END first if you only want to chop part of the sample. Then choose a method:
LAZY (tap to chop)
- Tap the source pad. It plays from START.
- While it plays, tap other pads. Each tap cuts at that moment and gives the next slice to the pad you tapped.
- When the sample finishes, you're done. Tap CLEAR to start over.
AUTO (find the hits)
- Tap AUTO. Chop finds the hits and puts each slice on its own pad right away.
- Move the THRESH slider to get more or fewer slices (the count shows as N SLICES). Slices update when you let go.
REGIONS (equal slices)
Tap REGIONS ▾ and choose 2, 4, 8, 16, 32 or 64 equal slices.
Where slices go
- Slices fill empty pads starting in the current bank and carry on into the next banks.
- Pads that already hold a different sample are skipped.
- All slices of one sample share a mute group, so they cut each other off like a classic chopped break.
- CLEAR removes the slices and returns the source pad to the full sample.
Stem separation (STEMS)
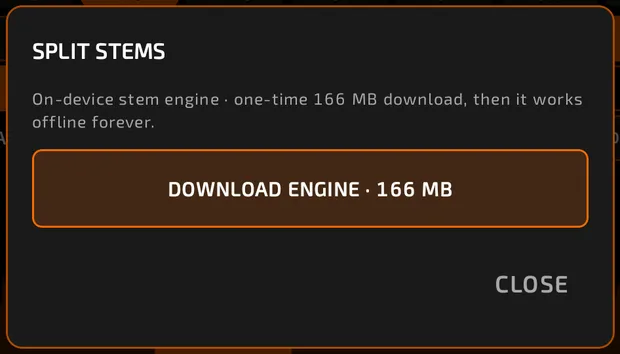
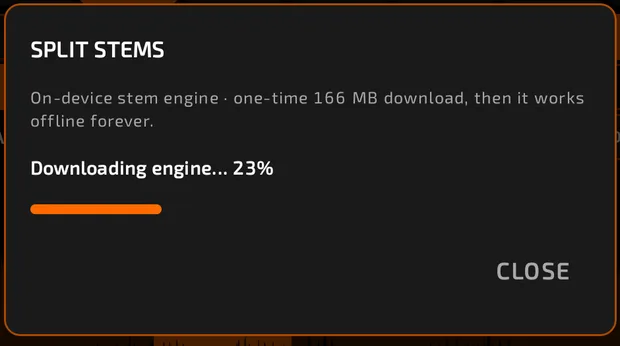
Split a song into DRUMS, BASS, VOCALS and INSTRUMENTS, right on your phone. Stem Separation is a premium feature (see Store).
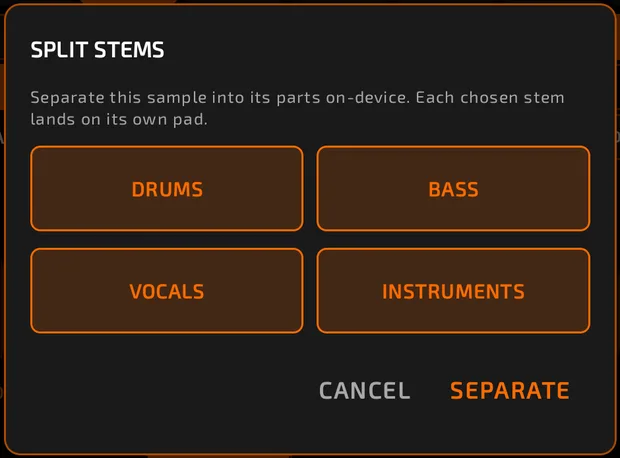
- Select a sample pad and set START / END around the part you want (up to 60 seconds).
- Tap STEMS.
- The first time, tap DOWNLOAD ENGINE (a one-time download of about 166 MB). After that it works offline.
- Choose which stems you want (all four are on by default) and tap SEPARATE.
- Each stem lands on its own empty pad, color-coded and named after the sample.
You can undo a separation.
Don't confuse this with EXPORT STEMS in the sequencer, which renders your own pads to separate files. See Projects and Export.
Finding the pitch or key: Tooner
Tooner is a tuner you add as an effect (METER category). It can find a sample's root note (ROOT), its key (KEY), tune live audio (TUNER) or tune from the microphone (MIC). It never changes the sound. See Effects.
Tips
- Leave NORMALIZE on when saving a recording so quiet takes come up to full level.
- Use RESAMPLE to bounce a beat, then chop it again: an old-school flip.
- Undo history is shared with the rest of the app, so the undo button in the middle strip undoes edits here too.
- The editor has no zero-crossing snap or gain knob: use NORM for loudness and the PAD tab LEVEL for volume.